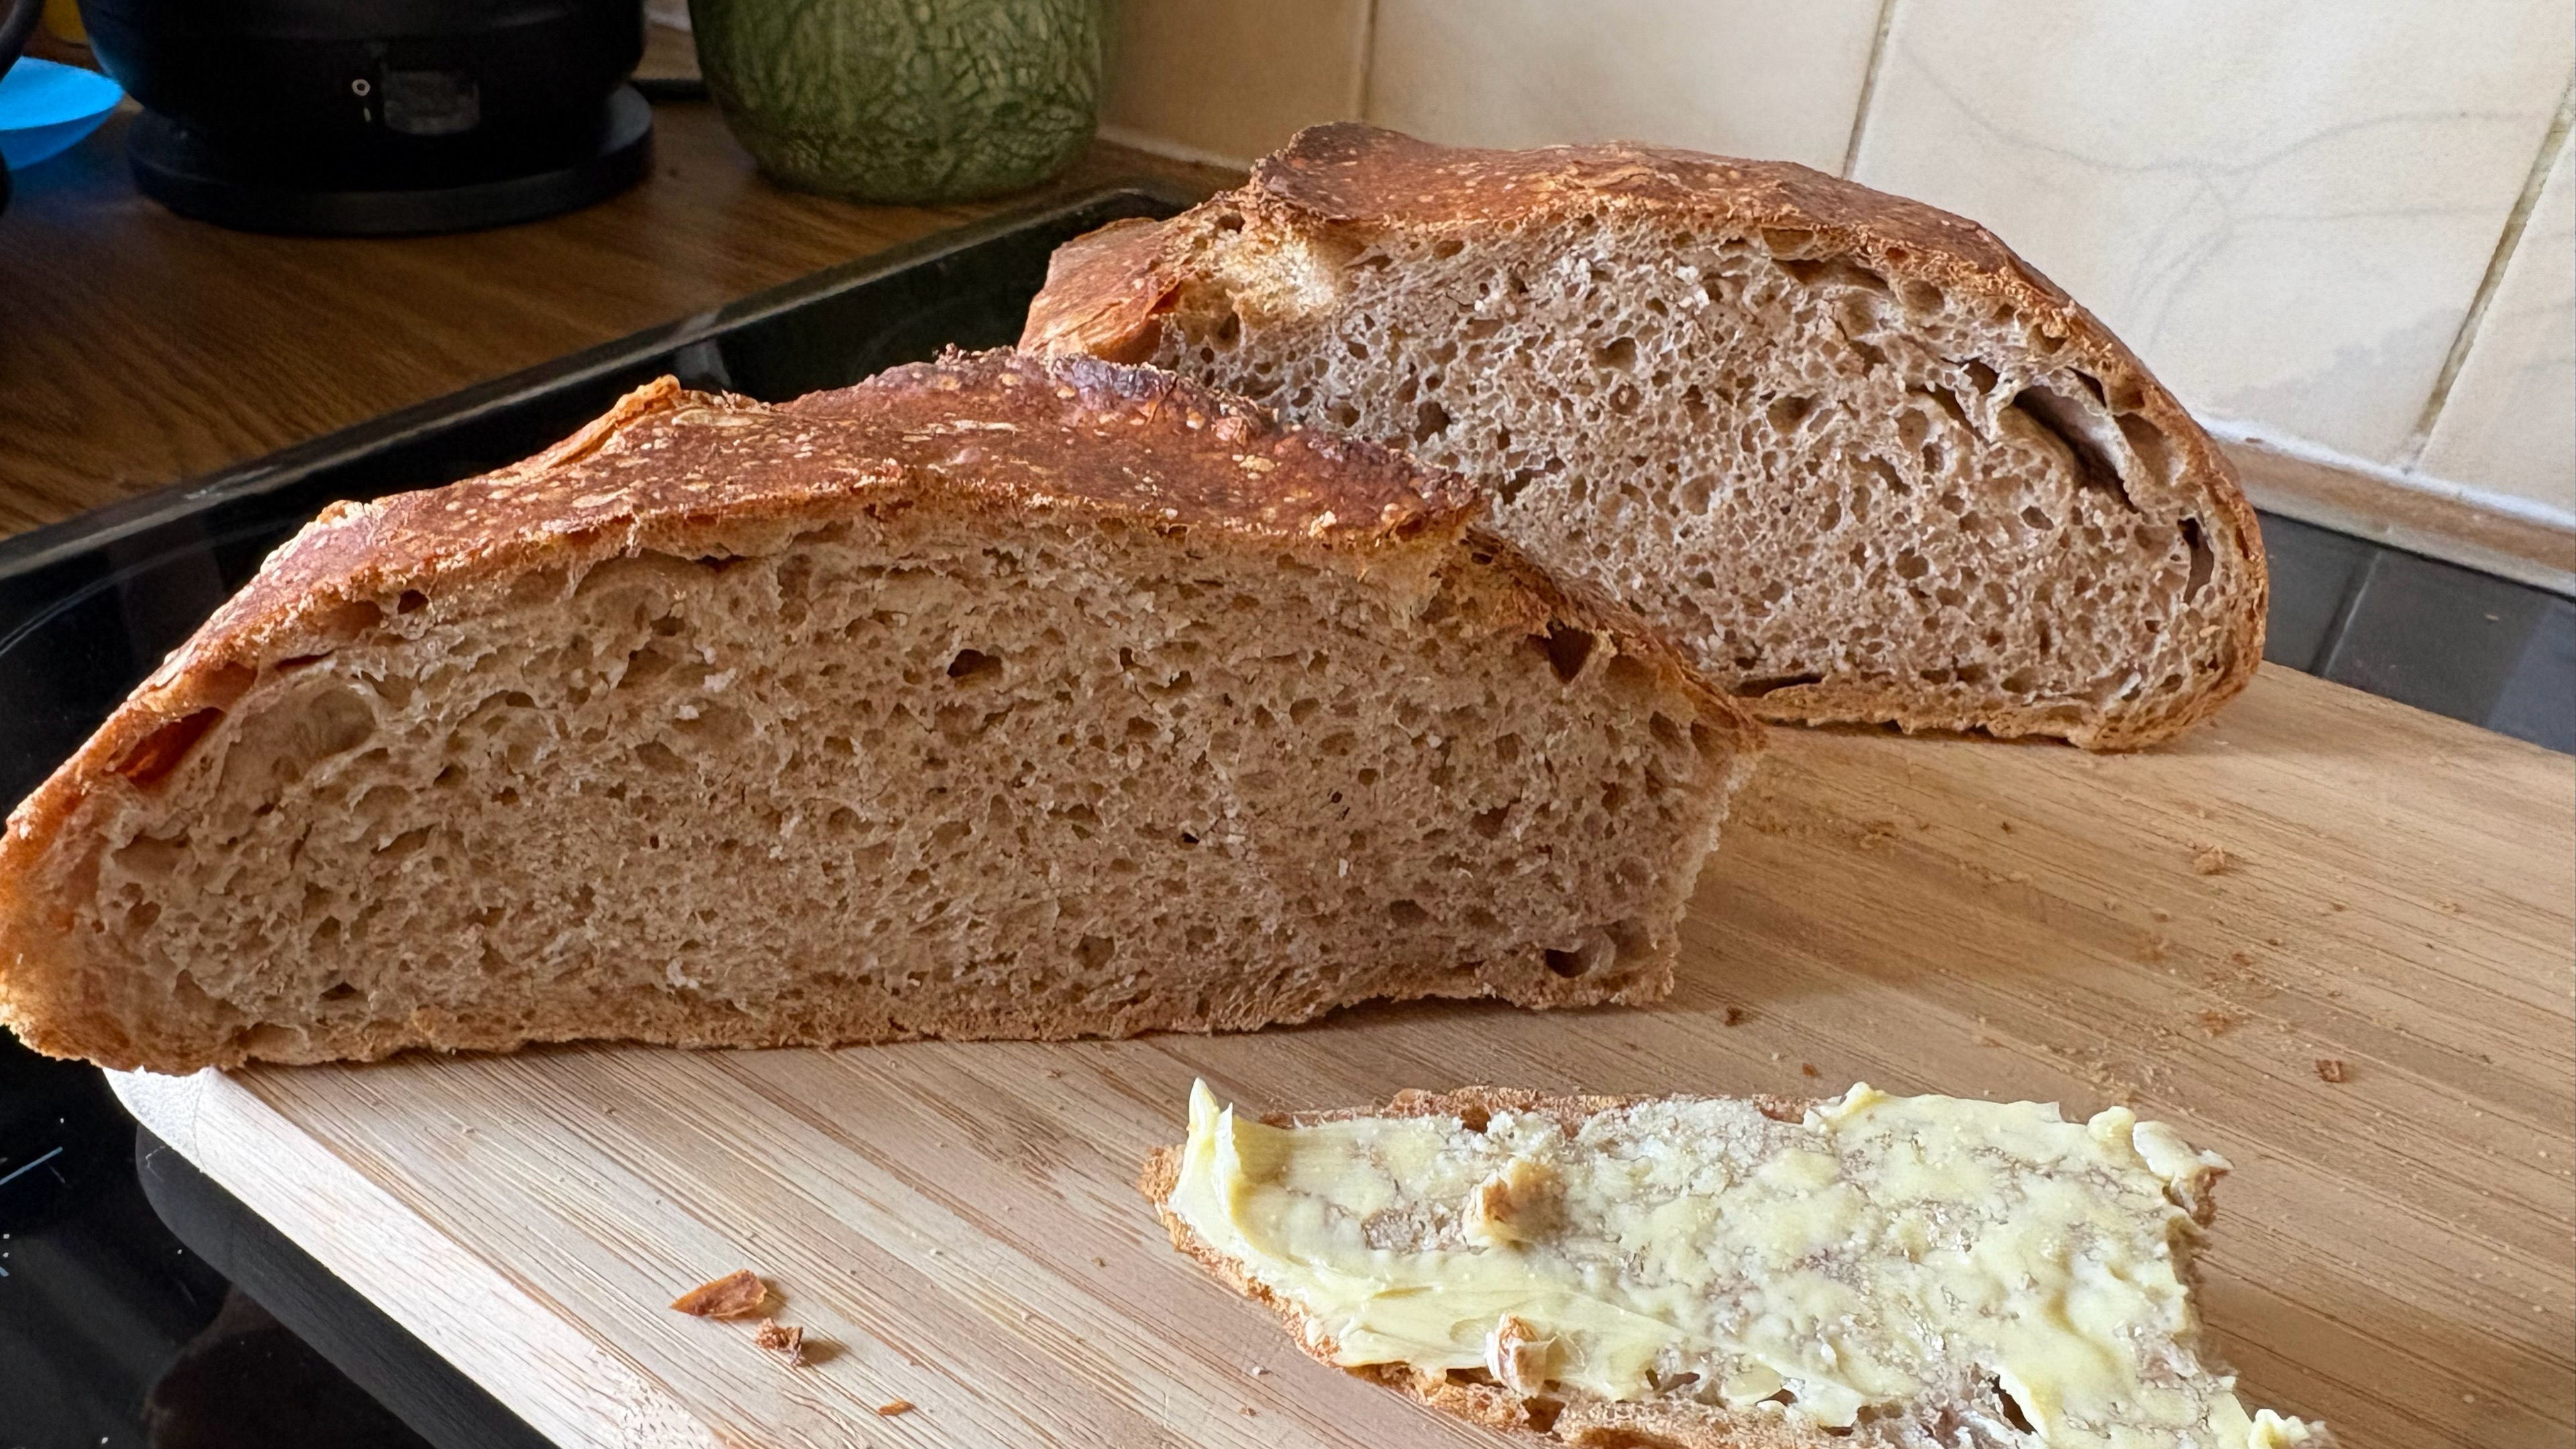
My Almost Foolproof Bread Recipe
If you’re on this page, chances are you’re looking for a simple, almost foolproof recipe — and this is the one I keep coming back to.
I’ve tried and tested loads of different recipes over the years, but none have worked quite as reliably as this one. The rise I get from this dough is incredible, and it has become such a regular in our kitchen that even the kids have made it — and honestly, they’ve probably mastered it better than I have!
One of the things I love most about this recipe is how adaptable it is. Once you’ve got the basic dough down, you can add all sorts of flavours and ingredients to make it your own. I’ll be sharing some of our favourite variations soon.
But for now, let’s get straight to the recipe.
I’m not one for writing half a novel before giving you the ingredients. If you’re here for a recipe, you’re probably here because you want to bake — not because you want to scroll through my life story first. 🌿
So, apron on. Let’s bake.
Basic Sourdough Bread
This is my go-to basic sourdough loaf — simple, forgiving and absolutely delicious. Once you’ve mastered the basic recipe, you can start experimenting with different flours and additions.
Ingredients
- 300g strong bread flour (ideally 14g+ protein)
- 200g spelt flour
Or, for a white loaf, simply use 500g strong bread flour instead. - 400g water
- 100g active sourdough starter
- 10g salt
Method
1. Autolyse
Combine the flour and water until there are no obvious dry patches.
Cover and leave to rest for at least 1 hour. This is called an autolyse and will make the dough much easier to handle later.
2. Add the starter & salt
Add your sourdough starter and salt.
Work them into the dough by doing several stretch and folds until everything is nicely incorporated.
3. Stretch & fold
After about 15 minutes, give the dough another round of stretch and folds.
Repeat every 15 minutes, up to around 8 times — if you remember!
Don’t worry if you don’t manage all eight. Sourdough is more forgiving than people sometimes make it sound.
4. Let it rise
Cover the dough and leave it to rise until it has roughly doubled in size.
If you’re using a see-through container, you’ll start seeing loads of lovely little air pockets throughout the dough. That’s exactly what you want!
5. Prepare for shaping
Lightly flour your work surface and gently tip the dough onto it.
If you’re making one large loaf, carefully stretch the dough out without tearing it, getting it as thin as you comfortably can.
6. Shape your loaf
The shaping is slightly different depending on whether you’re using an oval or round basket.
For an oval loaf:
Take one side of the dough and fold it into the middle. Take the opposite side and fold it over the middle.
Then roll the dough tightly so that it forms a log.
Gently drag the loaf towards you across the work surface a few times to create tension and tighten the seam. You can also pinch the seam closed if needed.
For a round loaf:
Fold the edges of the dough towards the centre until you have a roughly round loaf.
Flip it over so the seam is underneath, then gently turn and pull the dough against the work surface to create tension.
If needed, flip it back over and pinch any loose seams closed.
7. Into the fridge
Prepare your proofing basket. I actually tend to use a moist kitchen towel inside a normal basket — you don’t need anything fancy!
Place the dough into the basket upside down, with the seam facing upwards.
Pinch the seams together again if needed, then fold the edges of the towel over the dough to cover it.
Place it into the fridge overnight or for up to 48 hours.
The longer it rests, the more the flavour develops.
8. Time to bake!
Dutch Oven Method
Preheat your oven to its maximum temperature and place your Dutch oven inside to preheat with it.
My oven goes up to 250°C fan.
Once everything is thoroughly heated:
- Carefully place your loaf into the hot Dutch oven.
- Score the top.
- Put the lid on.
- Place it into the oven.
- Reduce the temperature to 220°C fan.
- Bake with the lid on for 30 minutes.
- Remove the lid and bake for another 20–30 minutes, until beautifully browned.
Give the bottom of the loaf a little knock. If it sounds hollow — great!
My Tupperware Loaf Container Method
I also often let my dough rise and bake in my Tupperware loaf container.
When I use this method, I don’t preheat the oven.
Prepare the dough in the container, put the lid on and place it into the cold oven.
Set the oven to 220°C fan and let the oven heat with the bread inside.
Bake for around 40 minutes with the lid on, then remove the lid and bake for another 20–30 minutes.
Again, give it the knock test. If it sounds hollow, you’re good to go!
9. The hardest part — waiting!
Once the bread is baked, remove it from the baking dish.
I like to put mine back into the switched-off oven with the door slightly cracked open and leave it there to cool for at least 1 hour.
As tempting as it is to cut into warm sourdough immediately, giving it time to cool allows the inside of the loaf to finish setting.
10. Enjoy 🌿
Slice it, spread generously with butter and add a tiny sprinkle of salt.
I only use unsalted butter, so I love that little extra sprinkle. If you’re using salted butter, you can skip the extra salt.
And that’s it.
Homemade sourdough doesn’t have to be complicated.
Enjoy!
Brambles & Bread 🌿






Leave a Reply